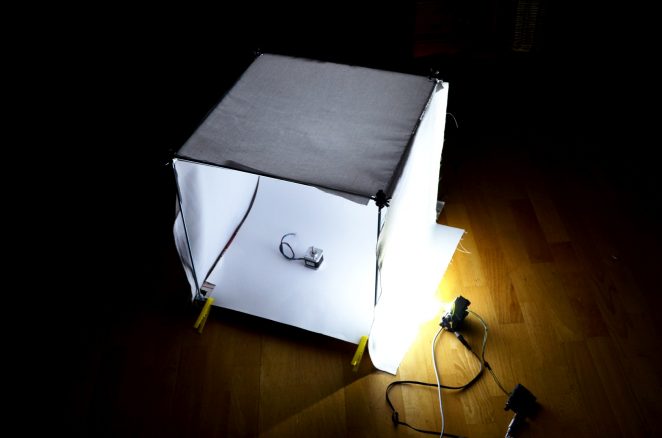
DIY lightbox- My idea and building
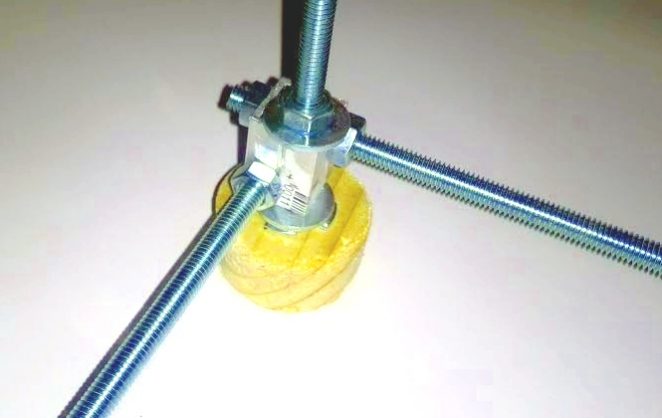
I finally finished my DIY lightbox. I had the frame already assembled a few months ago. That frame was built using aluminum DIY profile corners and threaded bars. I have written about it in a separate post. Nothing too fancy, but does the job.
I’ll share some photos how I built it.
Parts used in my DIY lightbox
It was cheap to build. Here are parts which I purchased and used:
- 6 x threaded rods M6 – around 3.6€
- bunch of M6 nuts – 1€?
- A white sheet of thick paper for “infinity background” – 1€
- White fabric – 0.4€
- Aluminum tube around 25cm – maybe – 1.5€
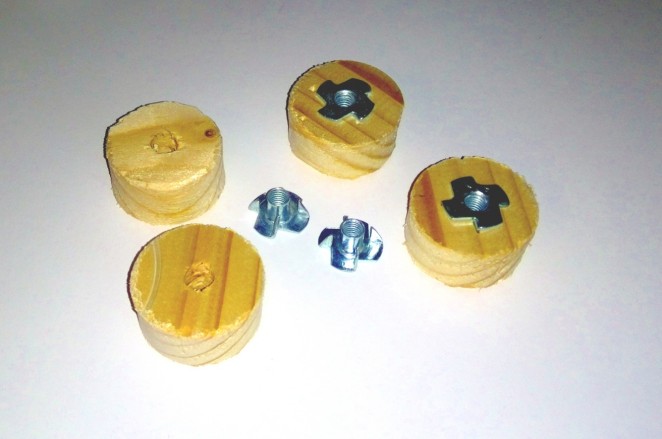
- 4 nuts for legs – 0.6€
Let’s start with legs
Quick and simple legs made with a hole cutter. To protect the surface it will stand on. I screwed them directly to the ends of the threaded bars. I don’t know what’s the name of these nuts I have used, but if you know – feel free to educate me.
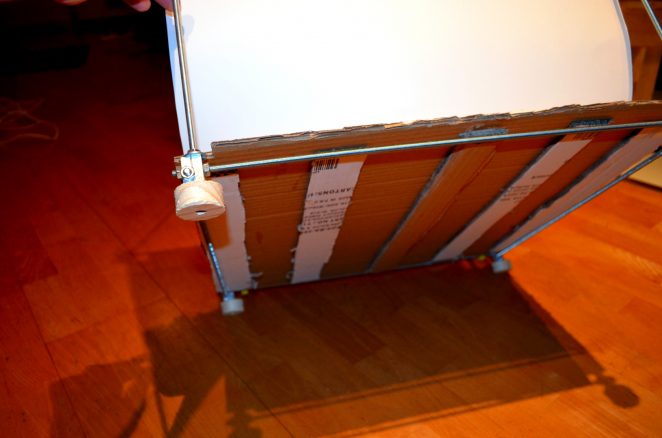
Cardboard floor for my DIY lightbox
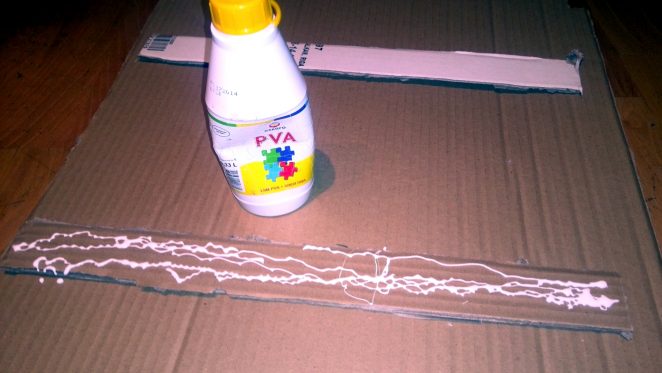
I made it out of cardboard and for some extra strength, glued some “backbone” to it. Strong enough to support items I would shoot in this box.
Gluing fabric pieces together
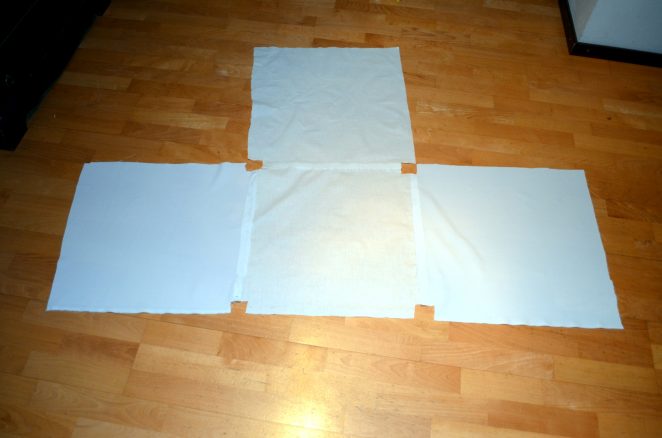
I bought 4 pieces of white fabric from our local shop. Looks pretty much sames as casual bed sheet. Is it a good choice? I don’t know yet. Will see that on first testing. Probably it will depend more on light source I’ll be using and it’s power. I glued fabric together by sides. Actually- it’s probably much easier to do this with one piece of fabric.
Adding infinity background
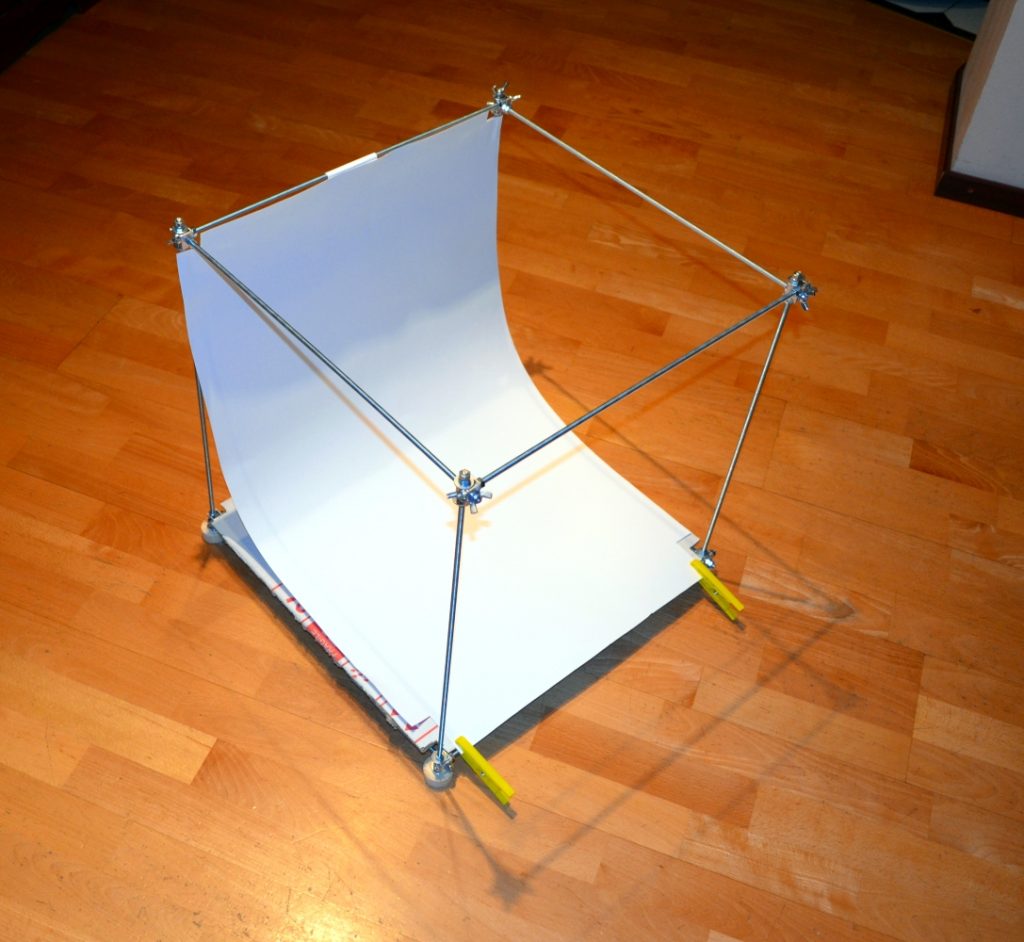
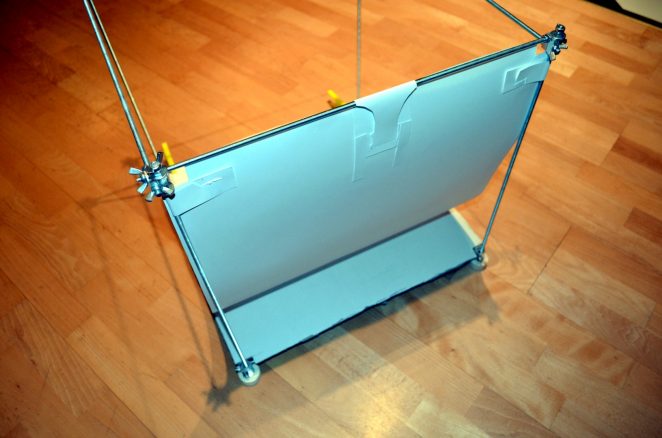
I used thick paper. Pretty straight forward. Also glued left over paper pieces to be used as locking it onto the frame. Easy to change if another color paper needs to be used.
Final result
Test photos are yet to come. After I have built some kind of lighting part of the project. But box itself is already usable. Will probably use 10W LED’s as lighting source.

No Responses