DIY KitchenAid attachments holder (dimensions and building)
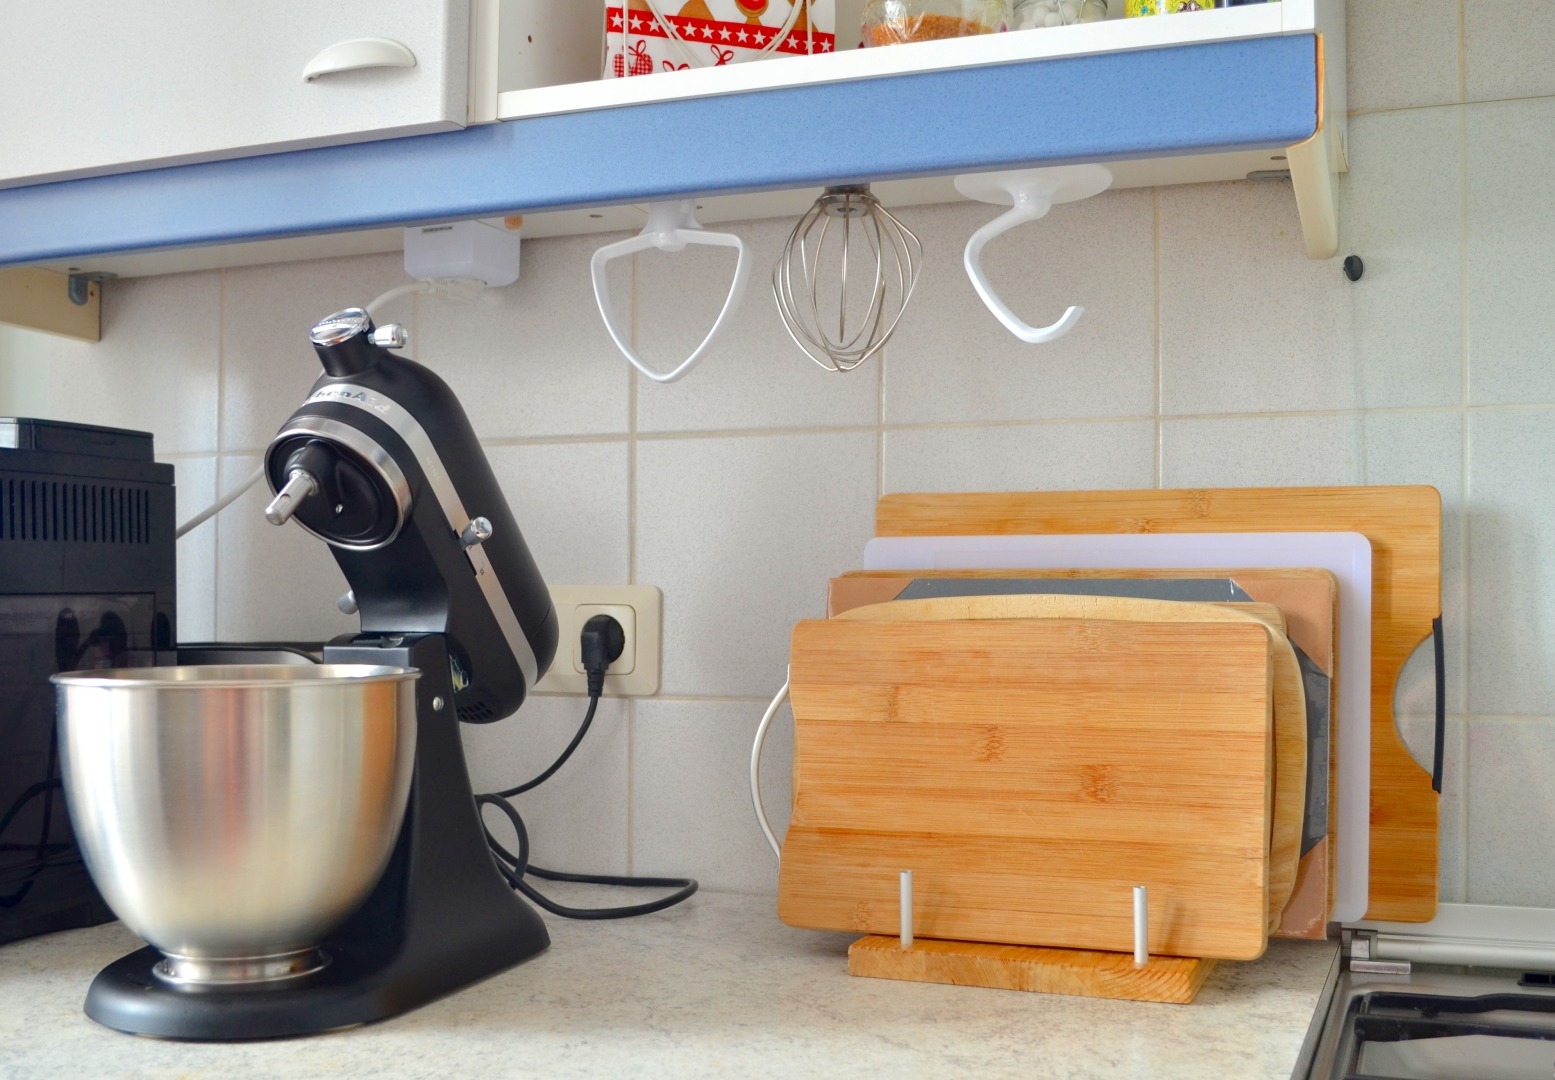
We bought a brand new KitchenAid Artisan Mini stand mixer ( Find it on Amazon.com or Amazon.co.uk ). It came with 3 standard attachments (dough hook, whisk, beater) and we needed a place to keep them. Having such a lovely machine calls for a nice display of it and it’s attachments. So instead of throwing them into a drawer (which is already overcrowded). I decided to go a different way.
I built this simple KitchenAid attachments holder to be used under a wall cabinet.
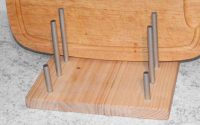
The same idea like some others have done. For example, Jamie’s “DIY stand mixer attachments organizer“. But takes no valuable counter space. The result is visually pleasing and there is no usability problems surfaced yet. We quickly learned the correct movement to place attachments correctly. That simple cutting board rack on the photo is also built by me.
Design & measurements
I designed this to be used for a maximum of 4 attachments. For our household, it’s enough. Following material was used:
- 4pcs – 12mm dowels
- 2pcs – 6mm dowels (I did cut them in half to get 4pcs)
- 40mm/4cm wide strip of plywood- length was around 420mm/42cm
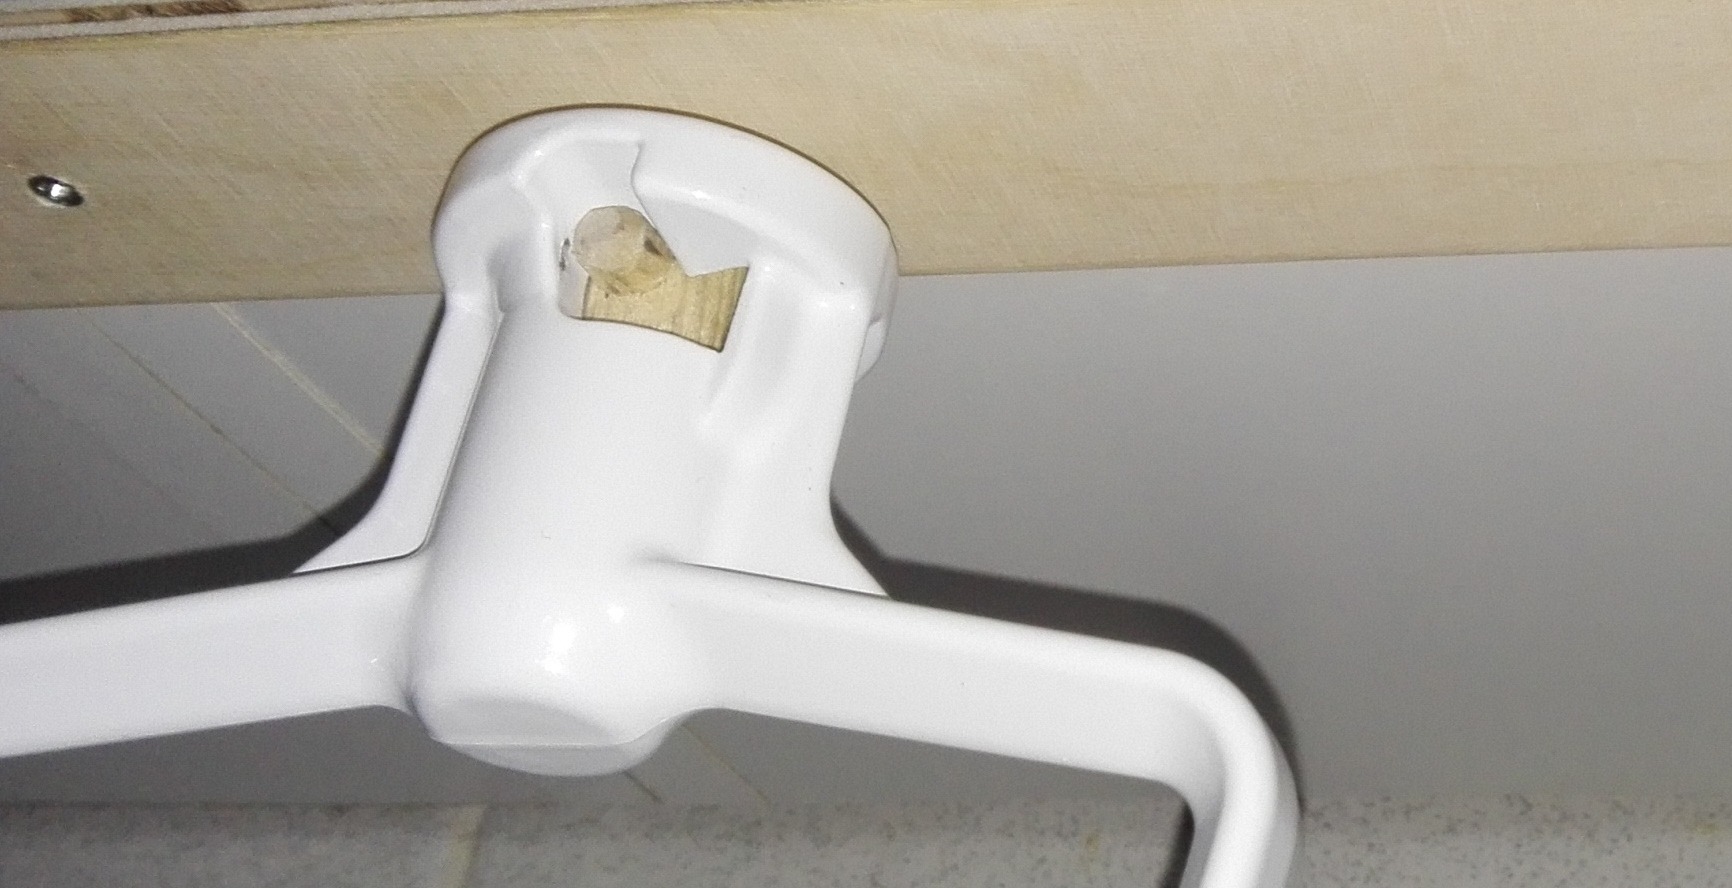
The main point was to save space on the countertop and have organized way to keep them. The best option was to hang them under the cabinet. Still in sight, but not cluttering space. And all beaters are at your fingertips. To mount them upside-down I needed a way to hook them in place.
Representing actual adapter on KitchenAid stand mixer was an ideal solution.
I used 12mm and 6mm dowels. I thought that it will be hard to make them, but it was actually easy to drill holes into sides of 12mm dowels. Here is a picture with dimensions I used (sorry for not having also inches included).
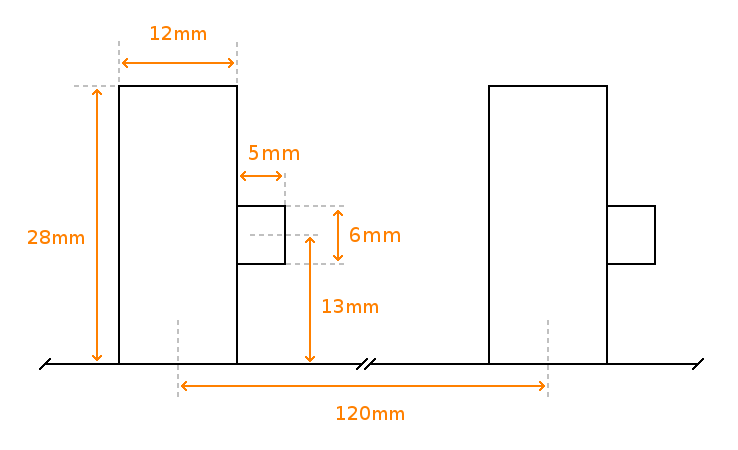
KitchenAid attachments holder measurements and dimensions
KitchenAid appliances are interchangeable between mixer models so measurements listed here should be true for every KitchenAid mixer. Except the spacing between attachments for bigger ones. Given spacing (12cm/120mm) here is used for KitchenAid Mini. With this spacing, they fit into one row without problems.
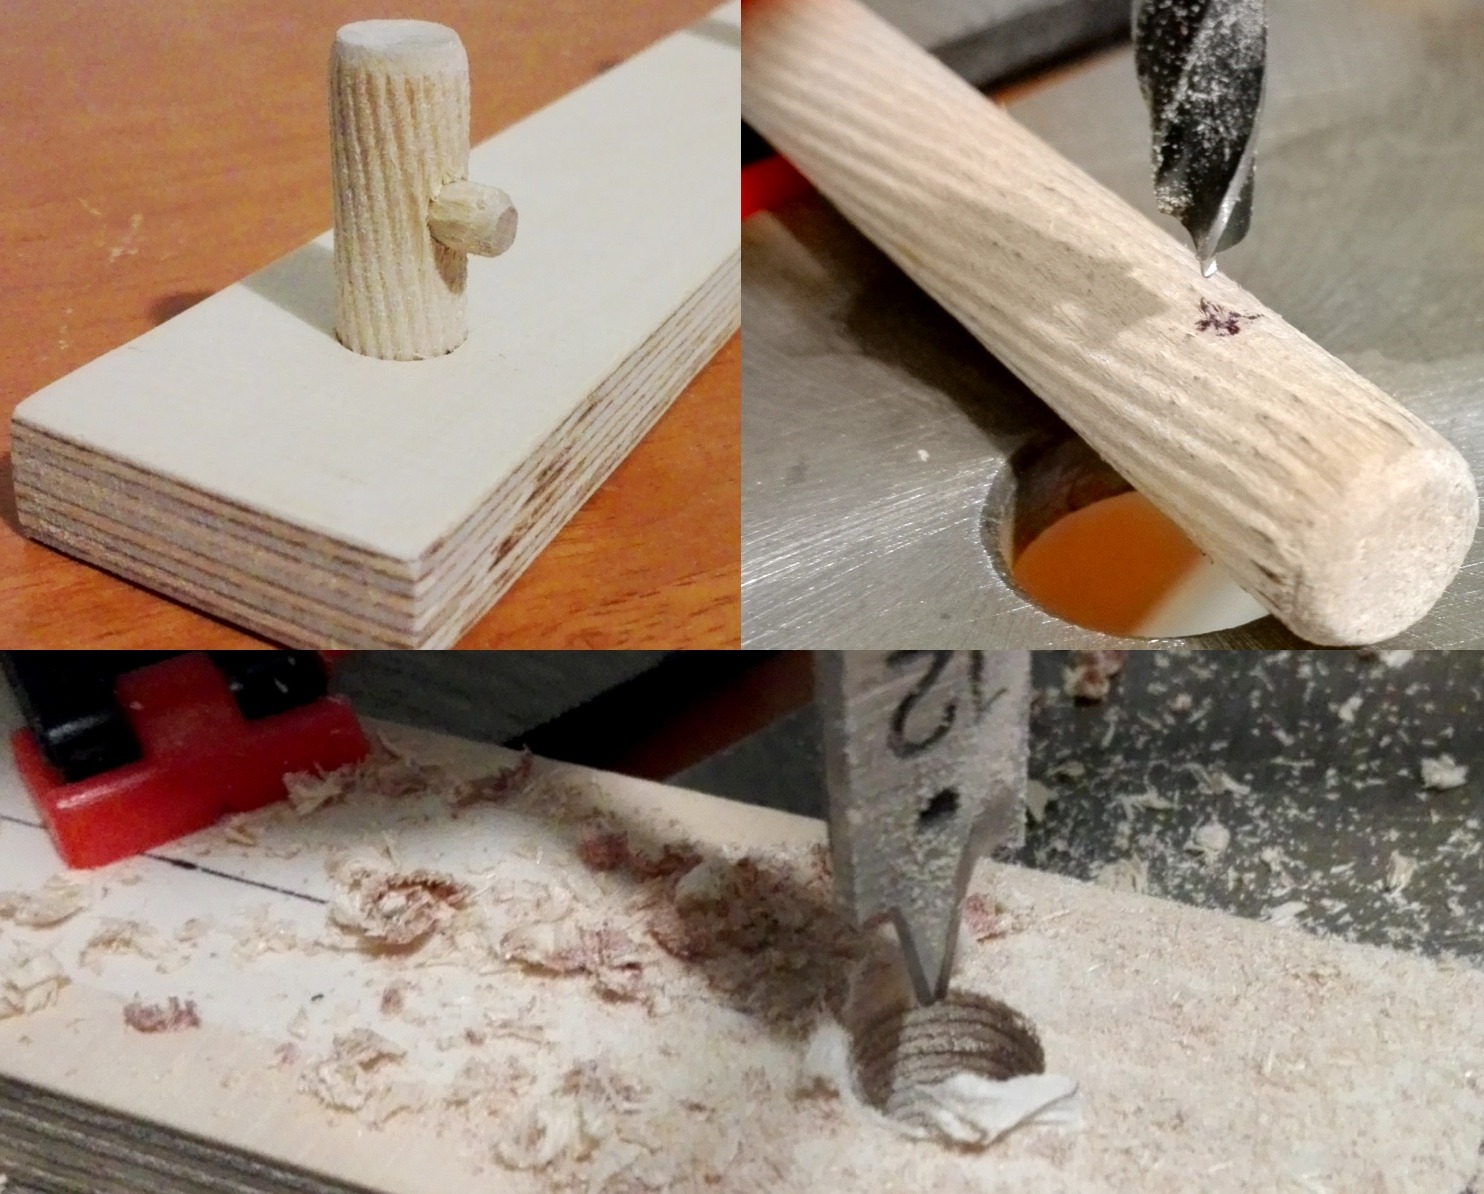
Drilling holes into 12mm dowels and 12mm plywood
If you have 3D-printer you could check out this neat 3d printable KitchenAid attachment holder which can be printed individually and also used under cabinets.
The end result – KitchenAid attachments holder used under cabinet
Here are some photos of the finished holder with some beaters/whisks attached.
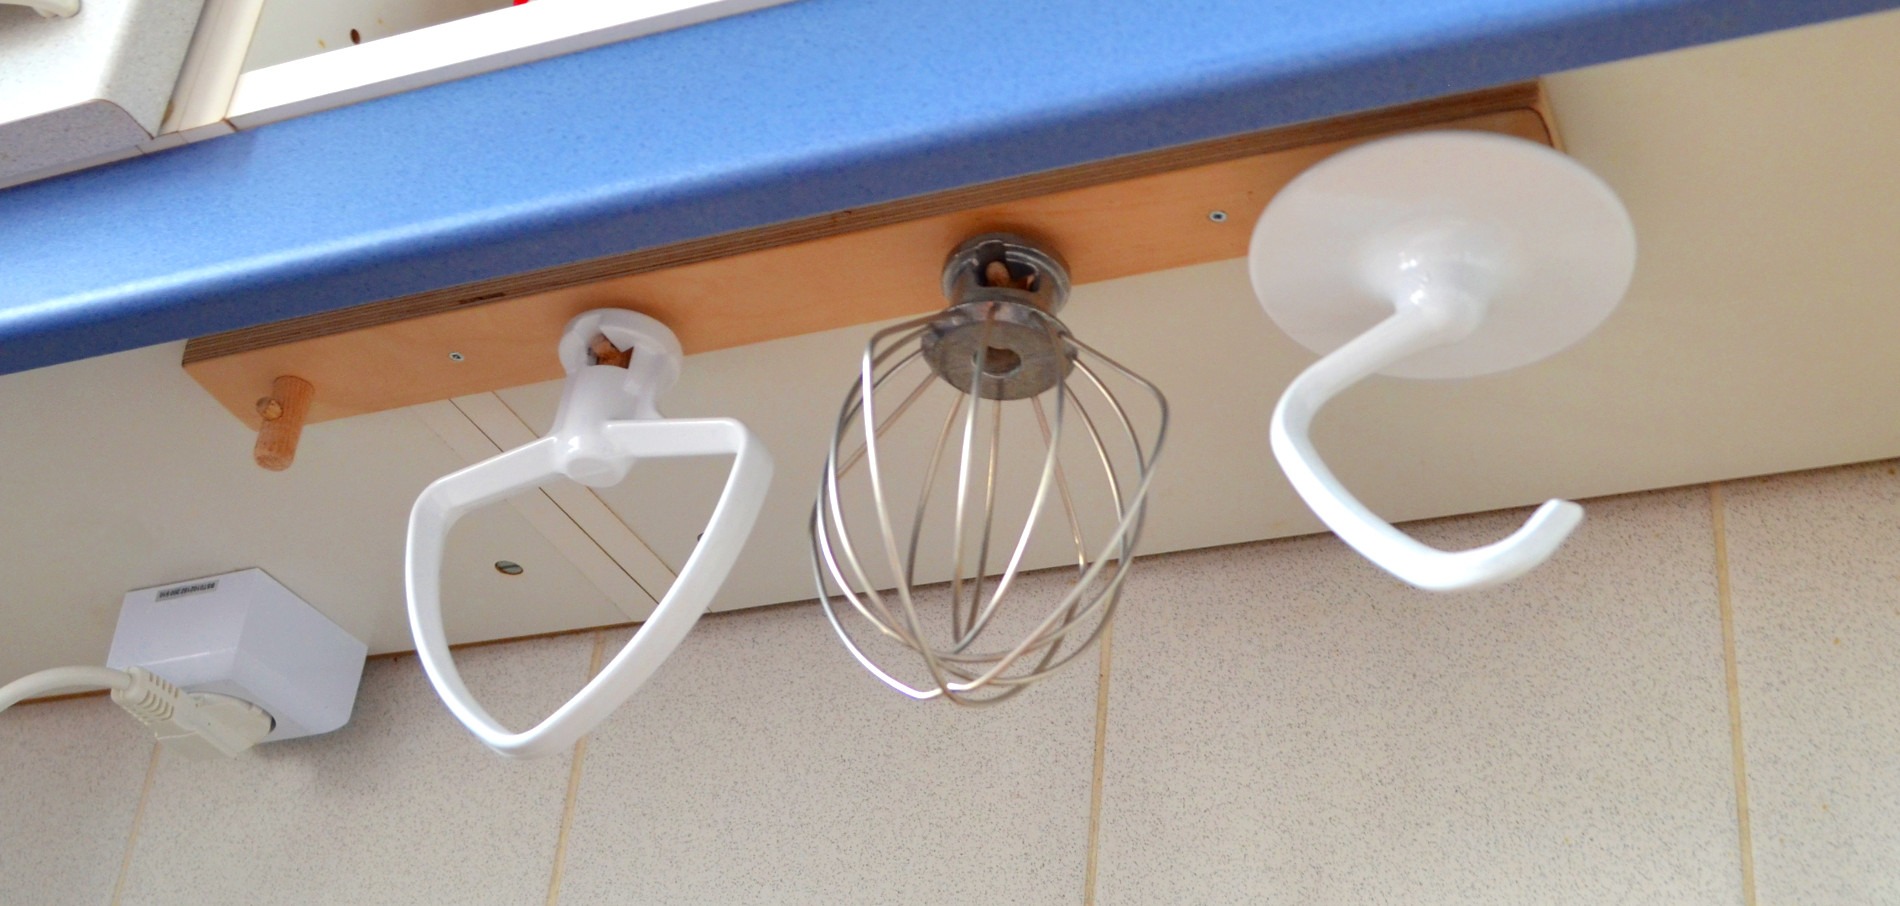
KitchenAid attachments holder under the cabinet
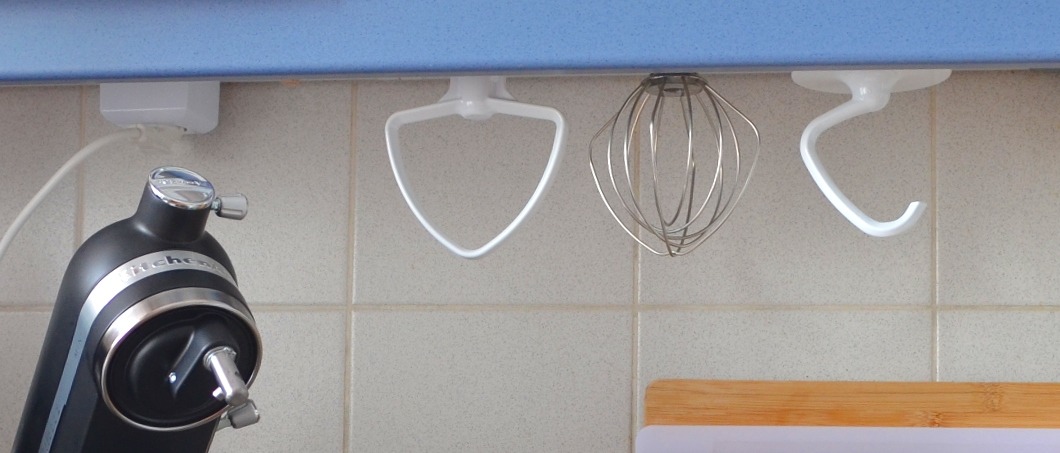
Attachments holder under the cabinet
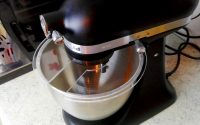
KitchenAid attachments holder with beater
Final words
One improvement could be to paint it. Attachments tend to smear some kind of metallic dirt onto the adapters (except the white ones). But since nobody actually sees it I don’t mind to keep it this way. There is also a video about the build on Youtube. Go view it to set the mood.
If you don’t feel like building one yourself there is a solution known as MixerMaid. You can buy one straight from Amazon.


Thank you for sharing the measurements / sizes for KitchenAid mounting. Nice idea and keep up good work