DIY splash guard for KitchenAid Mini made of acrylic glass
I created a simple splash guard to our KitchenAid Mini stand mixer.
It’s officially sold as a pouring shield, but my design lack that “pouring part”. So I called it as splash guard instead. This helps keep lightweight ingredients like flour from flying out of the bowl or when you’re mixing there will be much fewer splashes around the mixer.
Check out my other build which saves counter space. A homemade KitchenAid attachments holder to keep appliances under the wall cabinet.
Material & tools
I used 5mm thick plexiglass for my projects. You could use thinner, but it will be lighter and the groove for bowl edge will be not as deep. I made one from 2mm plexiglass, but it didn’t stay on the bowl very well and it was too light also. But 4-5mm glass seems to be nice thickness and weight.
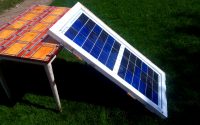
For making circular cuts I used a plunge router with 6mm straight bit and a self-made circular jig. Other option would be to use a router table with a centering pin top of the table.
Dimensions and plan for this splash guard
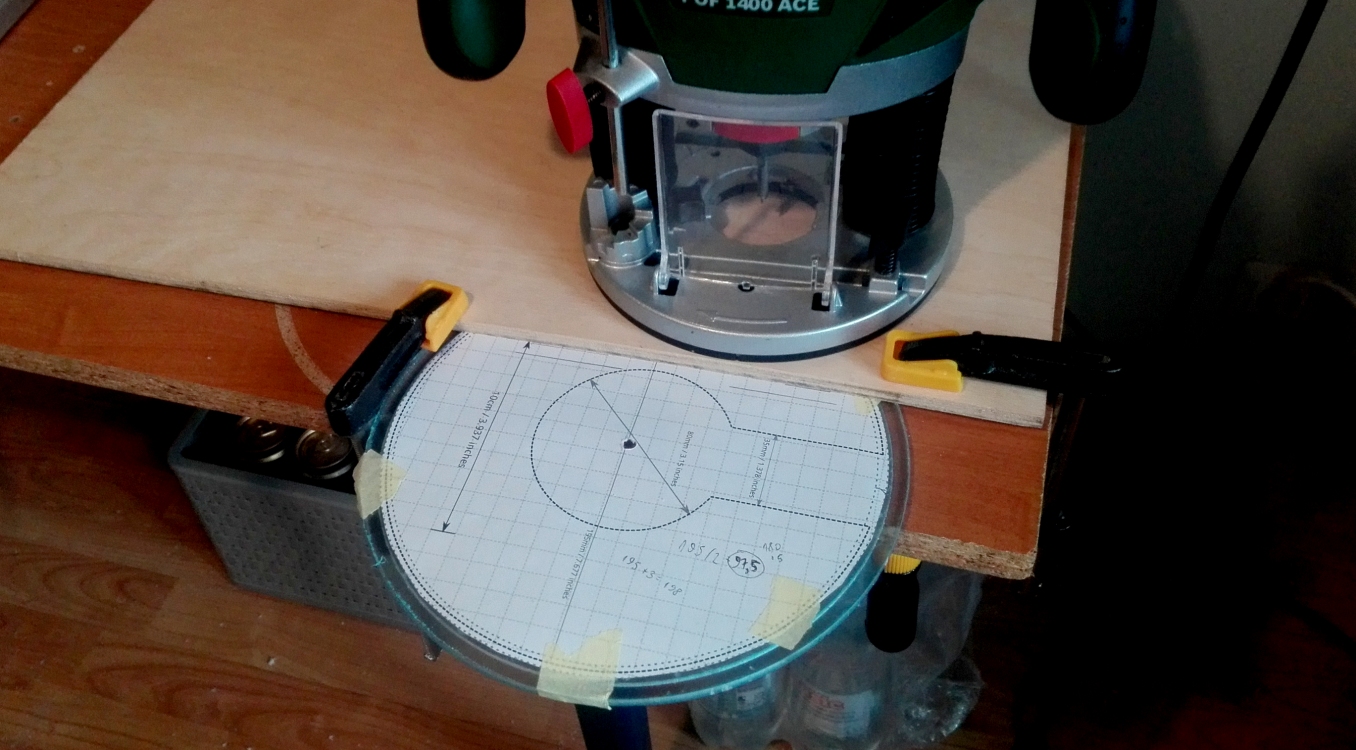
You can download the pdf file with the plan and measurements included here for reference. It should be printable within the correct scale on an A4 paper but I had to remove paper margins in the printer dialog before printing. I am not sure can all printers handle this. Note that on the plan there is no outer cut – only the groove cut for the bowl edge. It didn’t fit on the A4. The outer cut is 6mm further from the groove cut. Can’t be much further since there is not much room behind the bowl and machine. Here is the screenshot from the pdf.
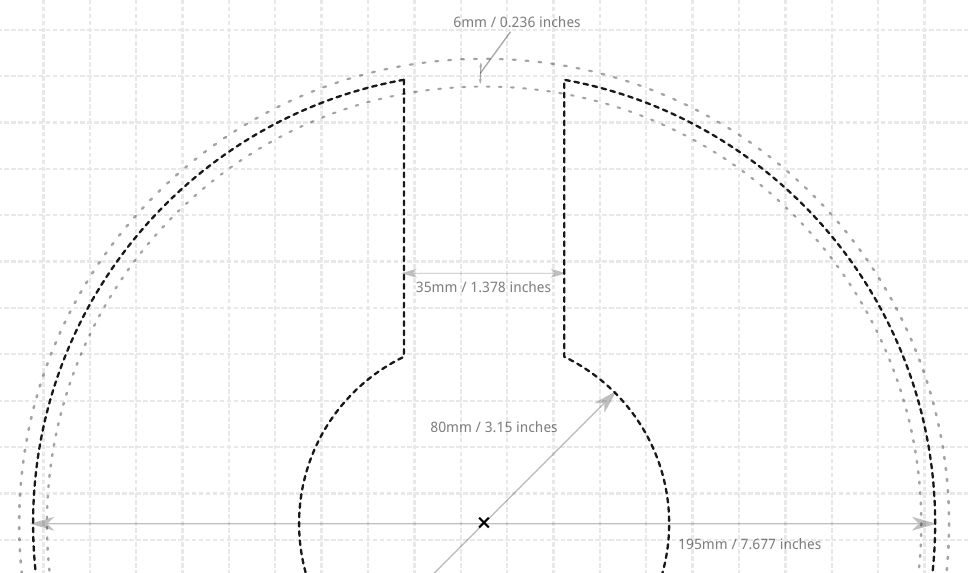
KitchenAid Mini splash guard plan and dimensions
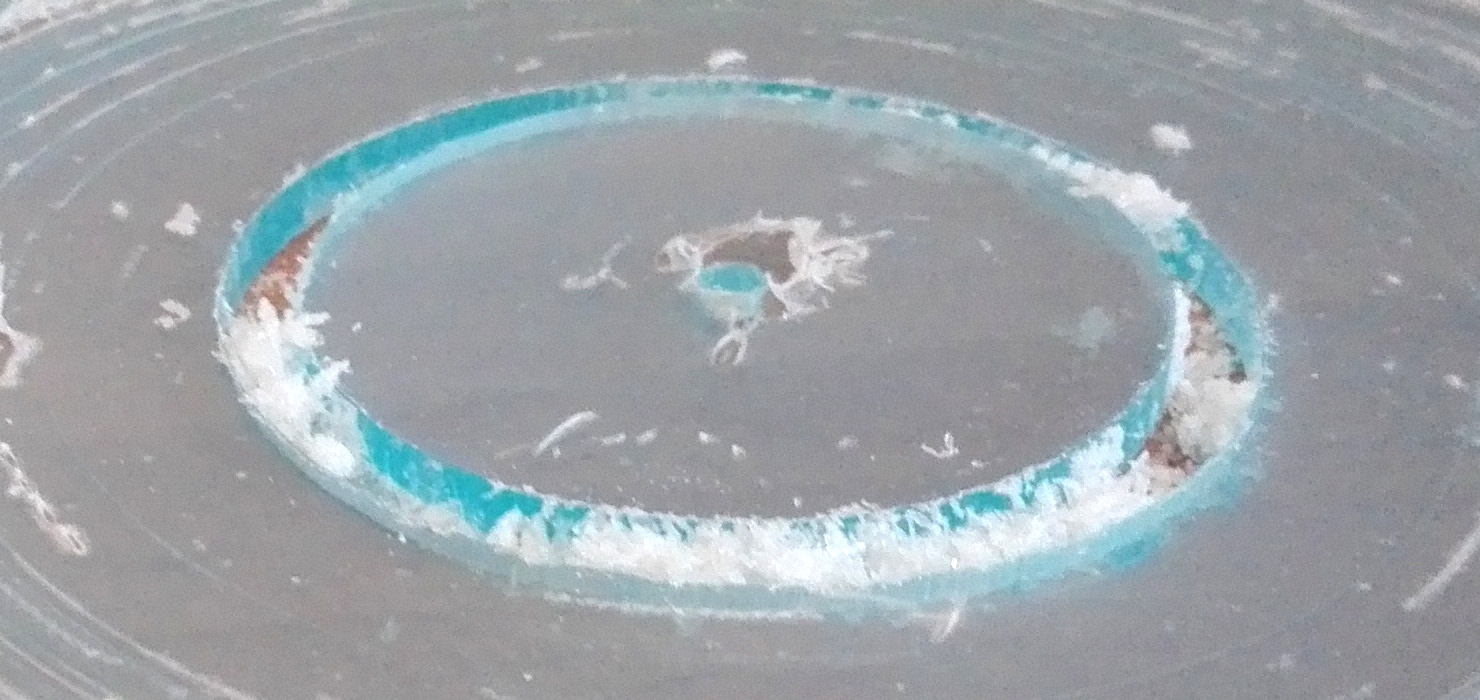
Dashed grey circles on the plan are just representing groove sides that router bit creates when following the main line with the diameter of 195mm. I used 6mm router bit and it worked well for the groove. Bowl edge fits nicely into that. Following photo explains best how template corresponds to the actual splash guard. The groove depth is around 3.5mm on this photo.
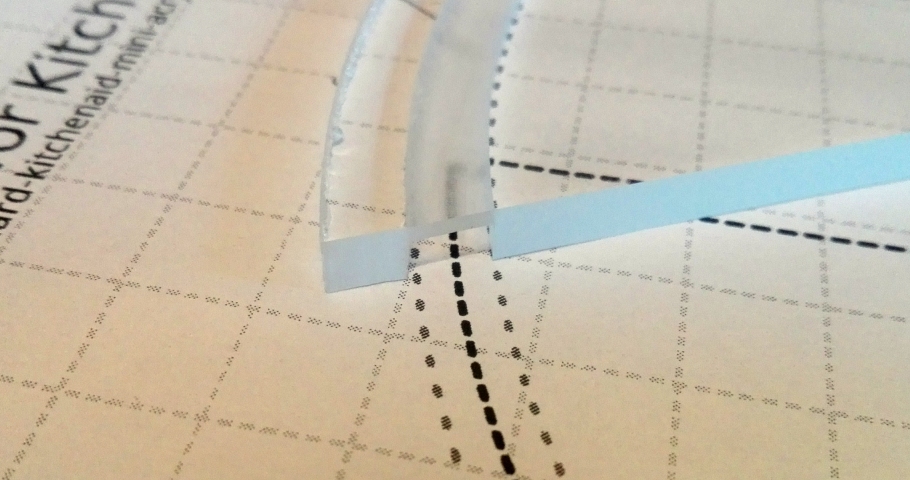
Routed circular groove in 5mm acrylic glass
Routing acrylic glass
I learned that cheap (for wood) routing bit was pretty good to route out acrylic aka plexiglass. I was afraid it will chip or tear too much. But for my application, there were no issues. Yes- there are imperfections when looking closer, but from distance, it looks good. Additionally, I used sanding paper to finish it to remove rough feeling from edges.
When I routed with multiple pass – acrylic chips didn’t want to fly off. They pretty much stayed in the path. I had to clean it off by scraping or doing more passes. Chips were like melt together and stuck there. Not sure is this problem with speed or lack of special router bit.
Routed acrylic glass chips stuck in the cut
Did you know that the word “plexiglass” in common language is often used as a term to describe all types of acrylic glass products from different manufacturers? It’s actually a brand named PLEXIGLAS®.
Photos of making
First I made a groove cut with multiple passes. After that, I made the outer cut that releases the project from the sheet of acrylic. It looks pretty messy, but the protective film on top of glass really keeps everything clean and nice. But I had to clean off chips between steps so I don’t damage too much the film.
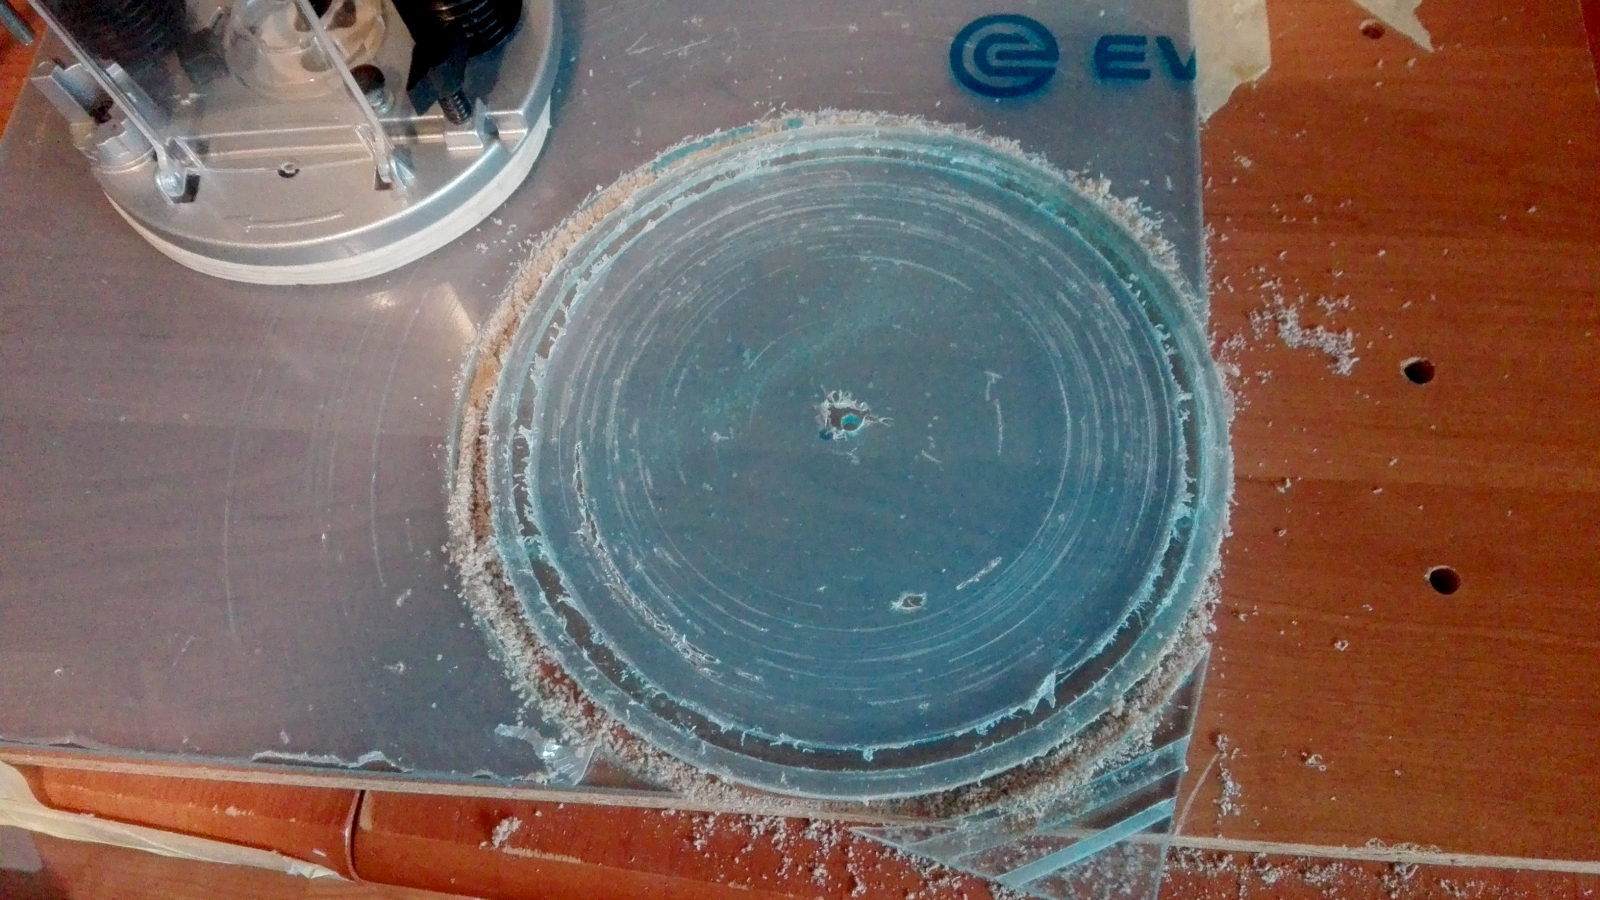
Circles routed into plexiglass
I used masking tape to keep center part not from moving after cutting outer cut. The outer and groove cut needs to be done before center cut because of another way it would lose connection from the center pin.
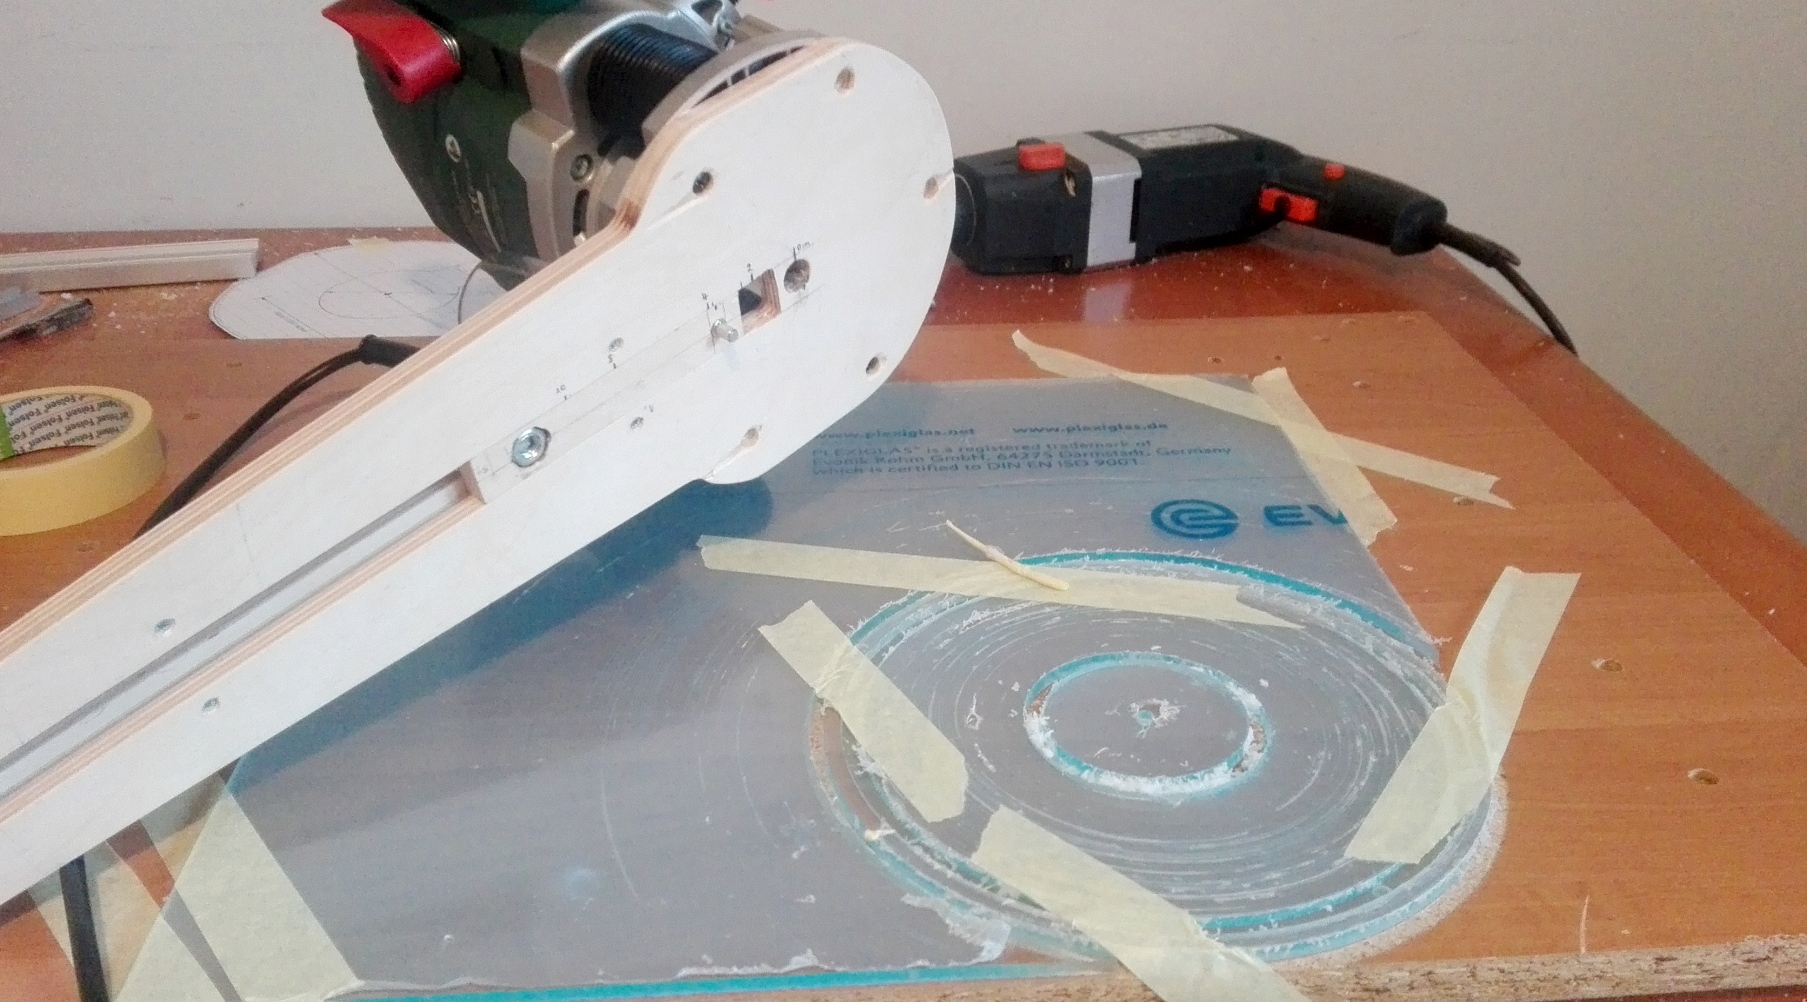
First cuts with the jig
Then I routed a gap for sliding cover on top of the bowl using the template to adjust the fence.
Routing gap for mounting
Finished product
After removing protective films from plexiglass, everything starts to look good. I actually like that whitish look on the sides of the cut and that can be made even better with sandpaper.
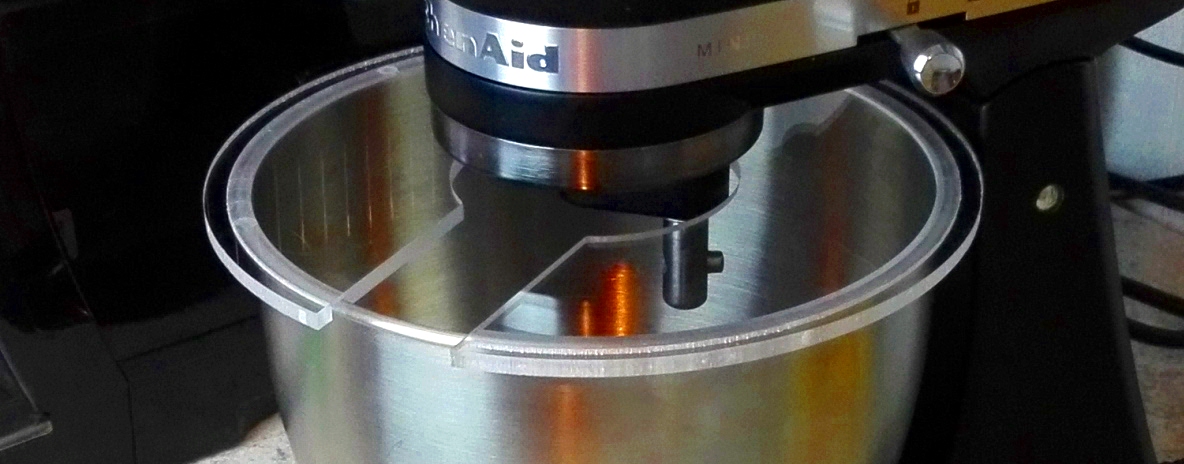
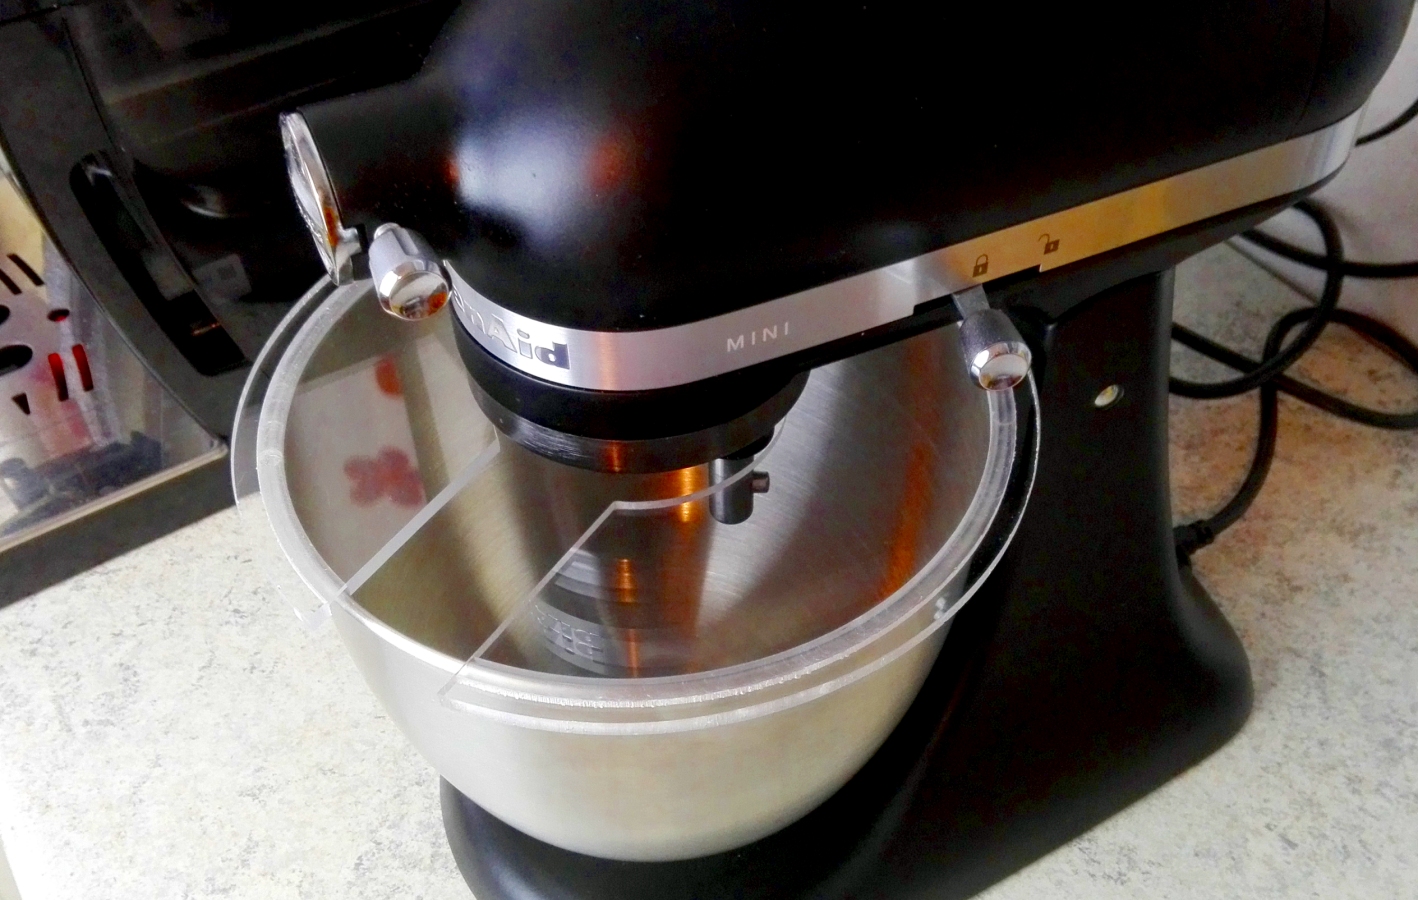
Splash guard covering the bowl