DIY plywood Christmas tree – My design and build
This Christmas I finally made to our household a DIY plywood Christmas tree. I have fiddled this idea for a few years now and finally made it happen. There are many other designs out there, but I didn’t like them. I created my own plywood Christmas tree template.
This post describes the process and how I built it.
The main idea was to make de-constructible- so we can fold it up after Christmas. Also not take up too much space under the bed or behind the closet. Let’s get started.
Printing out a draft template
The first step was to find a nice Christmas tree template. I found one promising image from the internet that looked something I like. That was going to be base for this project.
Of course, that was going to be too small when printed out on a single A4 paper. To overcome this problem I used rasterbator tool to scale small picture into the size I needed for the tree. This tool is originally made for creating wall art, but it works well also for scaling templates over many printable pages.
Paper template laid out on a plywood sheet
Creating a plywood base template
Next step was to cut out the first real plywood template. I laid out the paper template on the plywood sheet. I had to correct the base template a little bit. I removed some very tight places and made the lower part of the tree bit wider.
After that, I drilled holes into inner corners and outer edges. That made cutting everything out using jigsaw much easier.
Cutting out all other sides
You could use a jigsaw to cut out all other sides also, but it will take a lot of time to finish. Also, you must watch out for tear-outs that jigsaw can make. You can observe these things while cutting out the first template.
I used a plunge router to copy other 3 parts for my Christmas tree with a copying router bit. These are the bits with bearing on top (or bottom). Currently, I had no actual router table yet. I just screwed it under a piece of scrap wood. It worked well for this project as a quick fix. While routing I used double-sided tape to hold template together with plywood sheet.
Maybe it’s a good time to make yourself early Christmas gift in the form of a router. I totally love mine – read about it here.

All sides of the plywood Christmas tree routed out
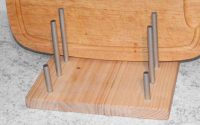
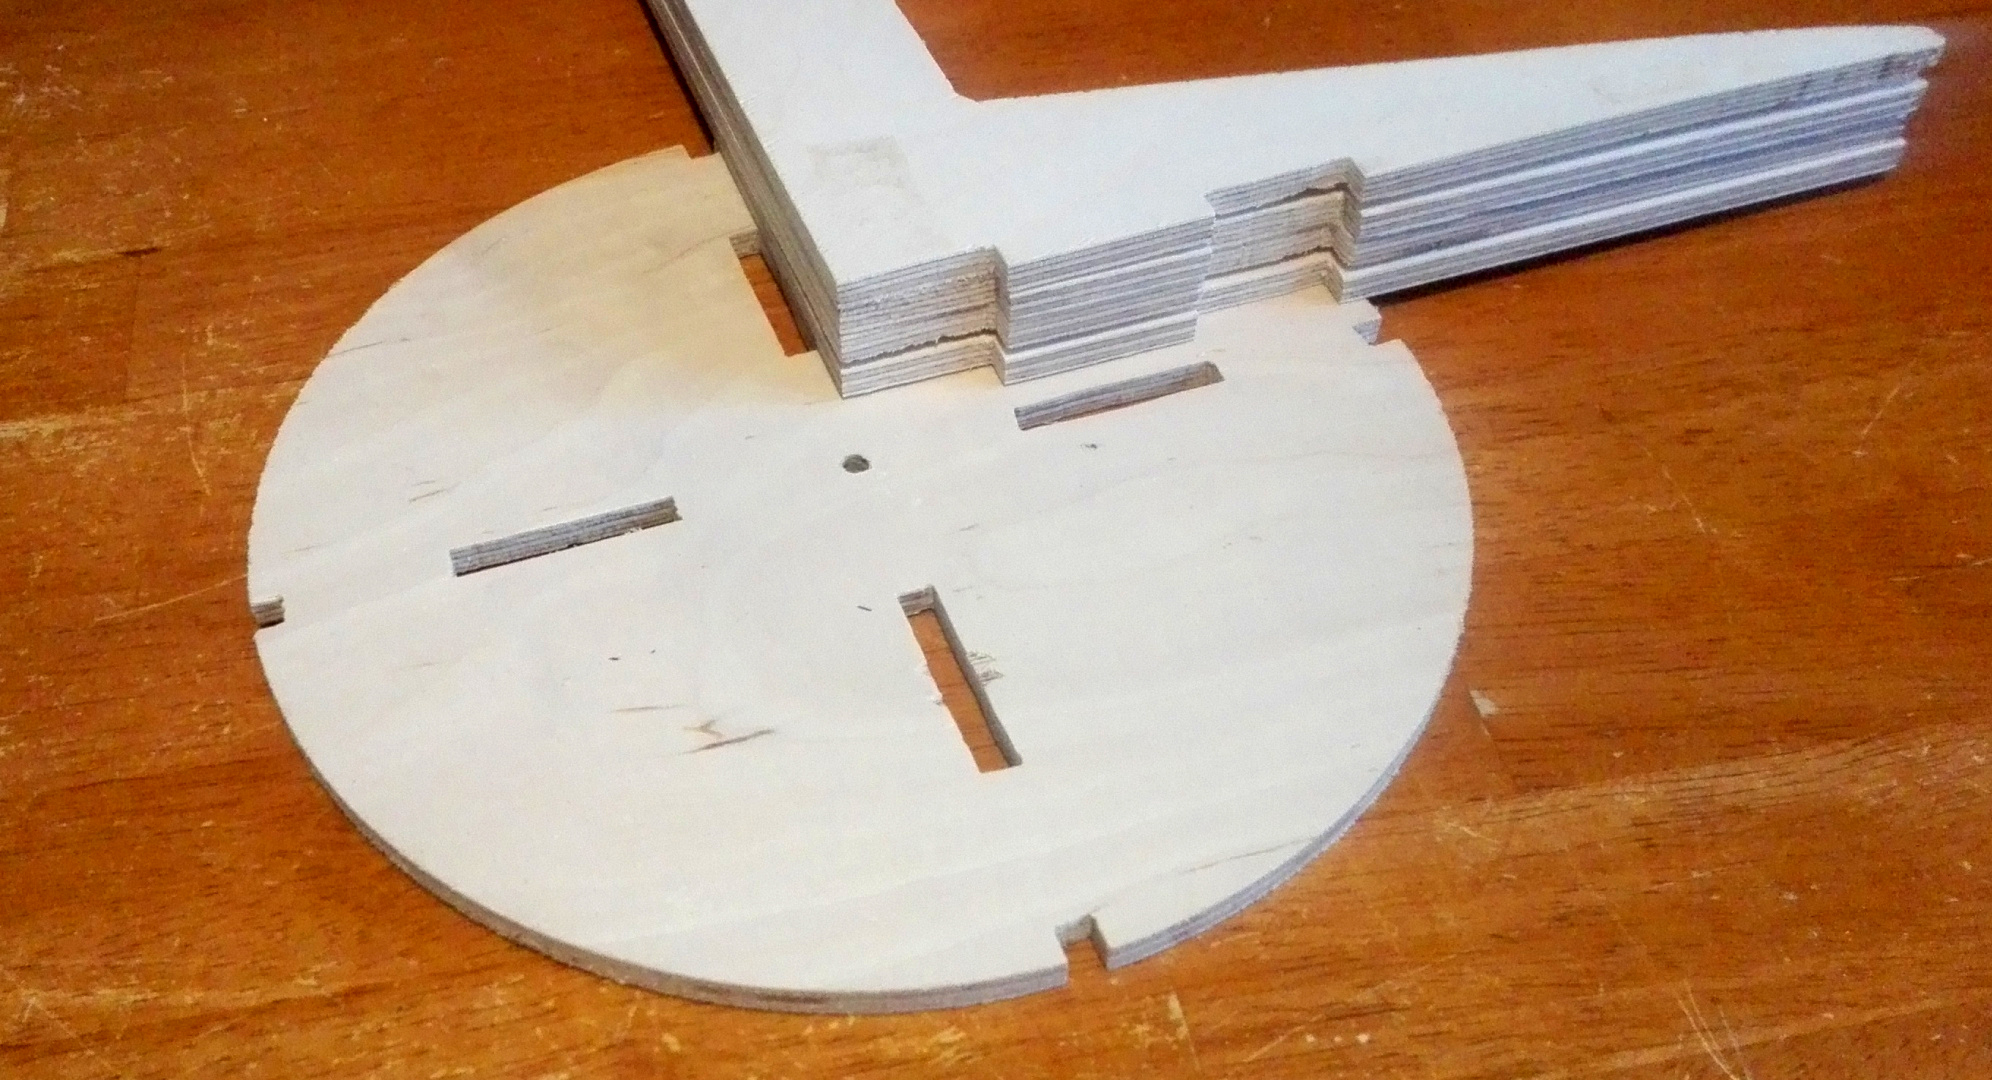
Base plate design
I could do this simpler, but same time I wanted to look nice. I made circular baseplate, but it’s easier probably go with a rectangular plate instead. I used my circle cutting jig to cut it out with a router.
You probably need something on top of the tree to keep it all together. Plywood is almost never perfectly straight. Usually, it’s curved and greatly depends on how they were stored and will be stored. Baseplate by itself won’t hold everything tightly together.
I went with a small circular piece top of the tree, but it’s possible to make a nice cross- something like made in here.
Base plate design closeup
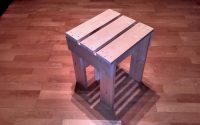
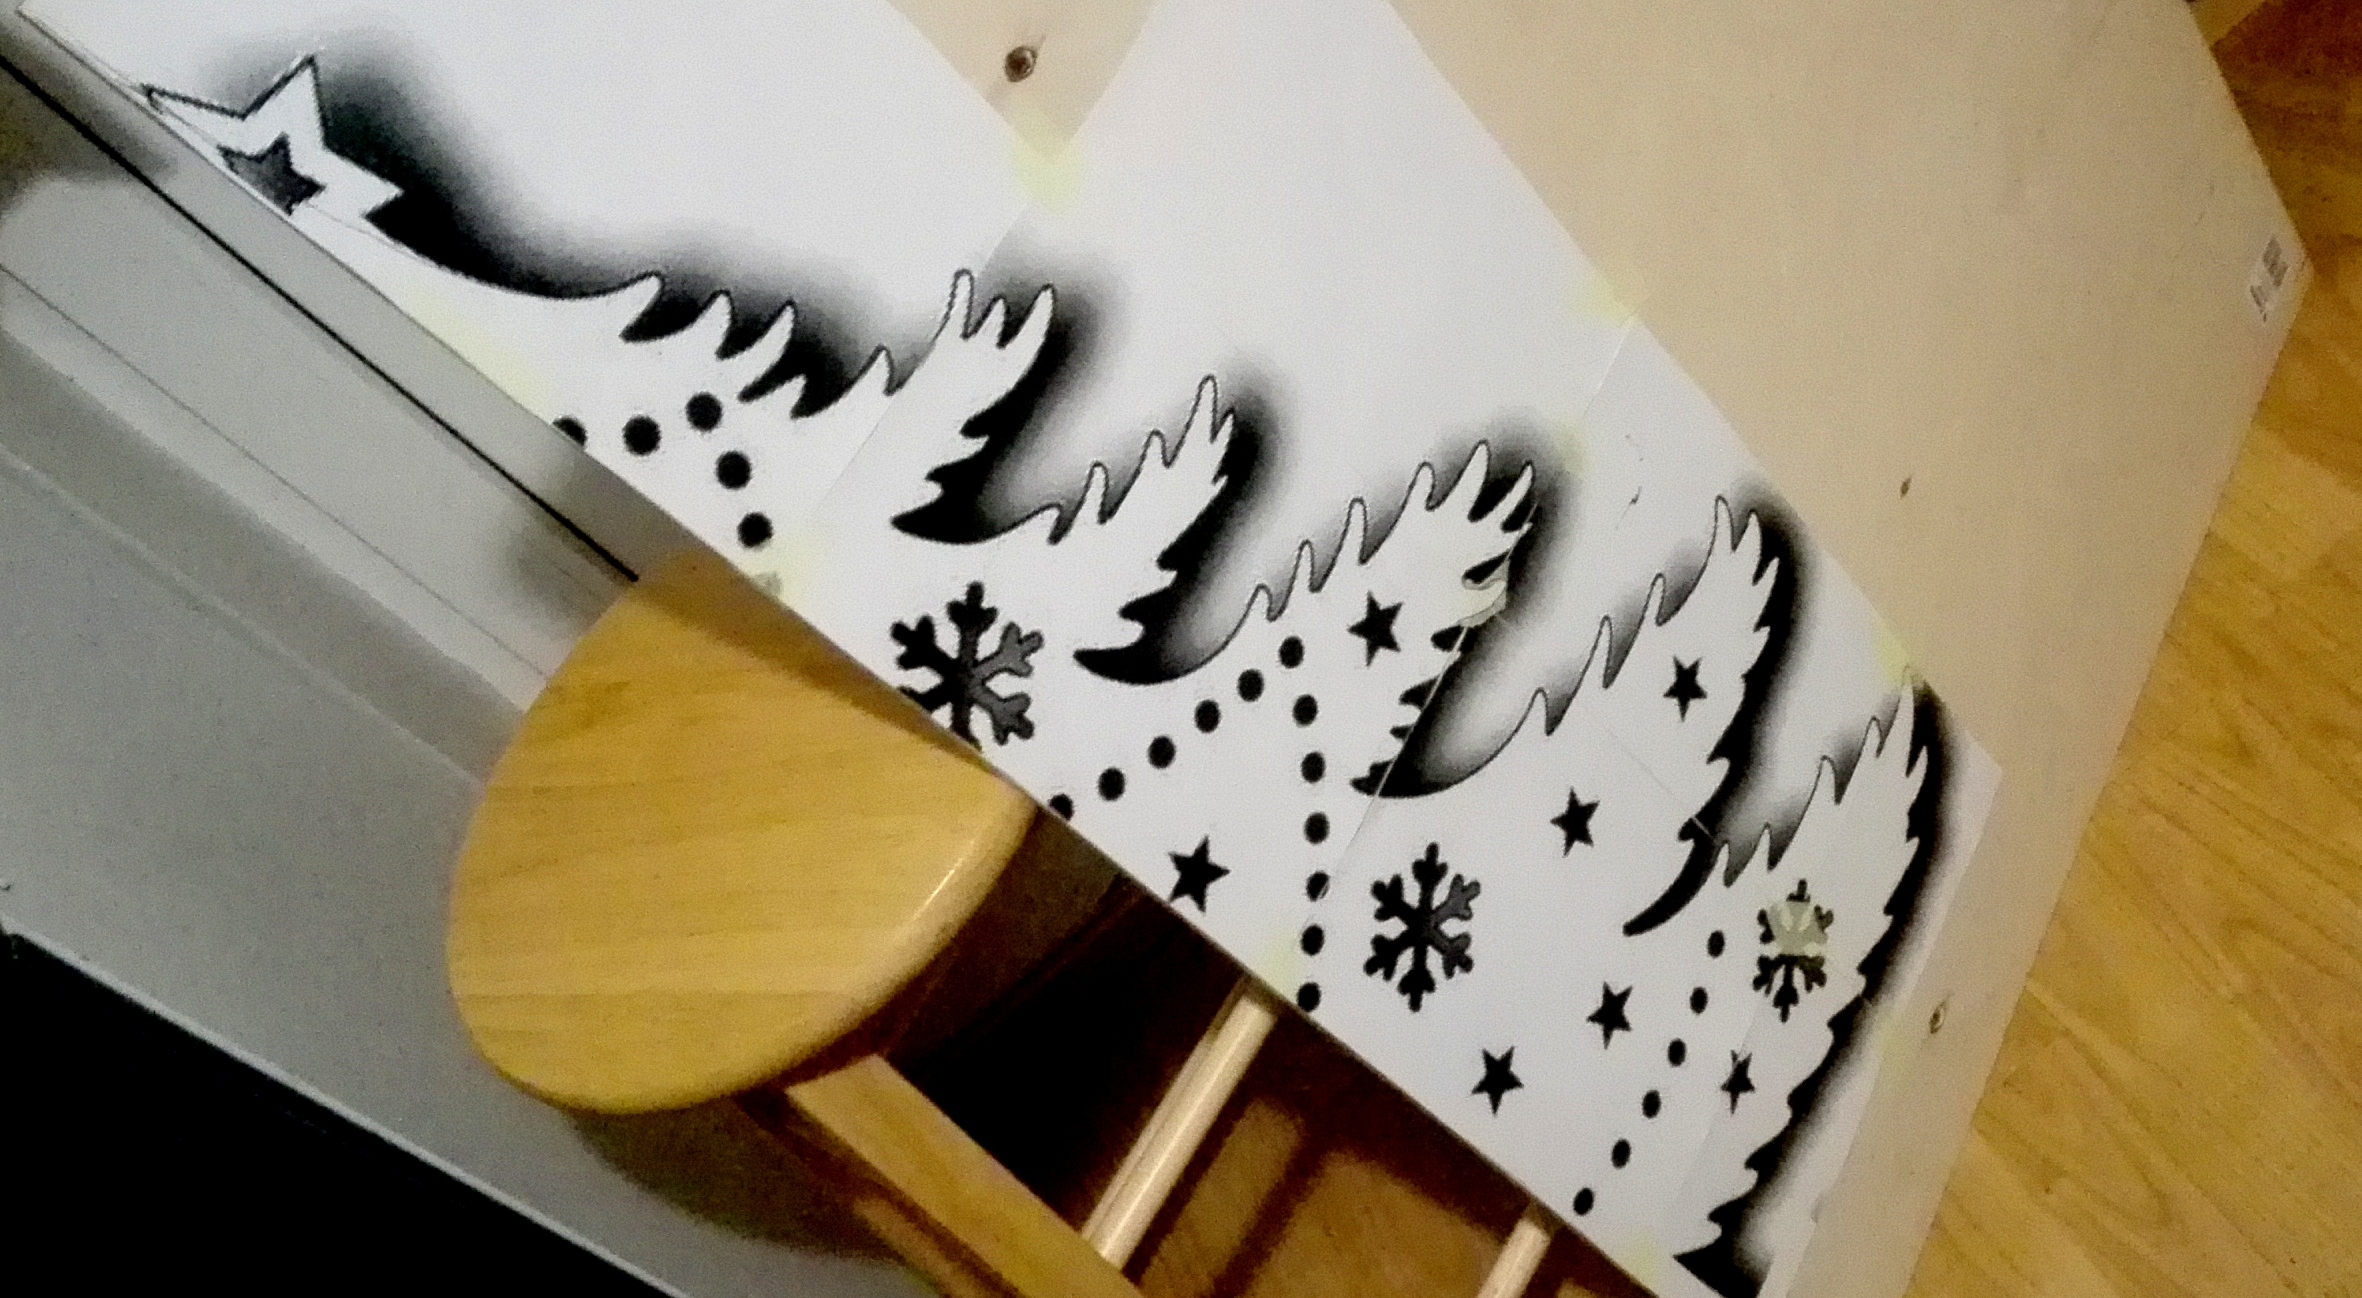
Finished DIY plywood Christmas tree
Here some Christmasy pictures with the tree and some decorations.

DIY plywood Christmas tree decorated
Ideas and improvements
I am thinking to make a vector graphics out of my design which can be converted to CNC routable gcode. Making these parts by hand is a bit of a process and makes perfect sense to cut it out with a CNC instead.
I made ours 1 meter (3 feet and 3″) tall, suitable small apartment. But now it seems a bit bigger would be much better.
Another thing is to add more sides. Like 5, 6 or 8 sides. Four-sided looks pretty empty and … hollow, but easy to connect together.