Gallery of timing belt clamp ideas for linear motion
There are several ways to clamp open loop timing belt ends together. Here are some clamp ideas gathered into one post with images and some with comments. Most of them here are for GT2 belts, but some ideas work for others too.
A quick overview to get ideas flowing and images for quick reference. It could be helpful when you don’t know yet what method to use for clamping. Since most of them are 3D-printable you are in luck when having access to one.
What is the timing belt clamp?
Belt clamps are useful for linearly moving parts in machines like 3D printers, CNC’s and engravers which are driven on belts. Basic idea is to take an “open loop” belt and clamp its ends together. Usually, it’s attached to moving part/gantry which trough power is transferred to the gantry. We can do this since in these machines belt ends never have to reach pulleys. Most of the examples here are for popular GT2 timing belt used in 3D printers.
What is an open loop timing belt?
Open-loop belt (or open-ended belt) is a popular term for belts which ends are not connected together. This kind of belt does not form an endless loop. So they can’t be used for changing rotational speed or torque between 2 pulleys. Instead, the open-ended belt is used to transfer pulleys rotational movement into linear movement of the gantry. They are sold as rolls or as running meter so you can buy a belt that is cut to your needed length.
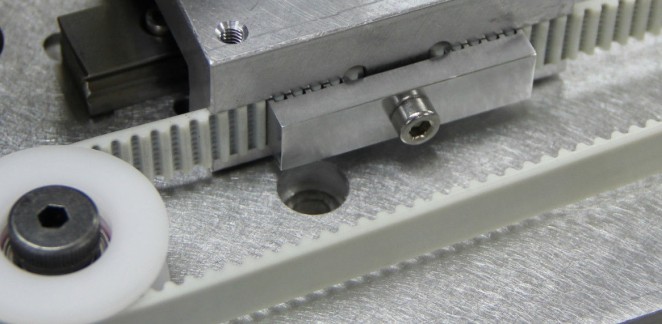
Simple universal clamp
Most common and simple one also found on widely on Chinese selling sites. Made out of some aluminum alloy or nylon. It’s probably the simplest one to make yourself using simple tools. It doesn’t have to actually match tooth profile- matching tooth pitch is probably good enough. Basically, you could do this from a piece of aluminum or even plywood- with saw or file. I called it universal since it’s not designed to use in a specific machine like some others in this post.
You can find them on Amazon.com, Amazon.co.uk or Amazon.de.
Self-locking by teeth
This one uses belt teeth themselves for locking. At least for GT2 belt – the teeth match each other this way pretty well.
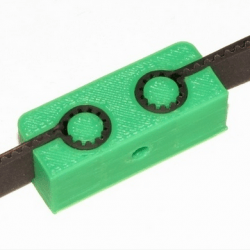
Source: youmagibe.com – 2mm pitch GT2 Belt Clamp by Mark Rehorst
Next one looks like basically using the same self-locking idea. But more like typical backpack strap style.
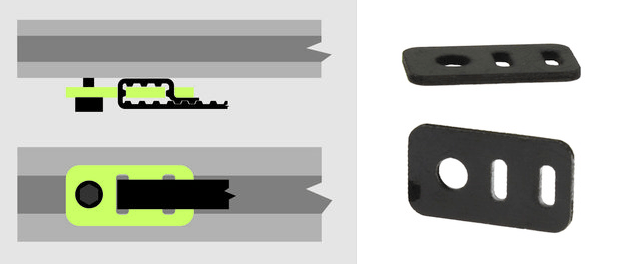
Source: inventables.com – MakerSlide Belt Clip (can’t find it anymore on their page)
Crimp style is one simple way for connecting belt to frame. Also somewhat using the same feature.
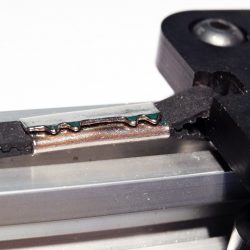
Source: openbuildsstore.com – Crimp style timing belt clamp
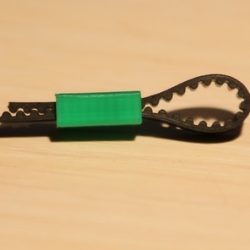
Source: thingiverse.com – Simple Gt2 Belt Lock clamp by Alex Des
Belt clamps with a built-in tensioner
Previous clamps have one small drawback. They must separately be tensioned if needed. Here are some clamps with the tensioning mechanism already built-in.
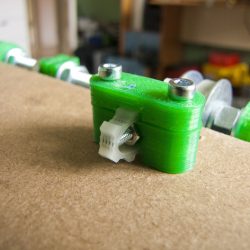
Source: thingiverse.com – Prusa Y-axis belt tensioner by Christian Riise Wagner
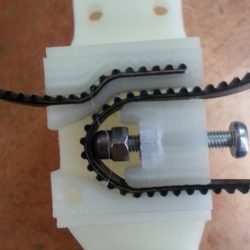
Source: thingiverse.com – Vertical X-axis Belt Mount with Built-in Tensioner by Misha Tikh
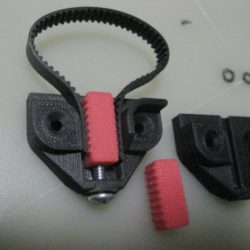
Source: Thingiverse.com – Belt Tensioner/Clamp – Precision by Robert Bilbrey
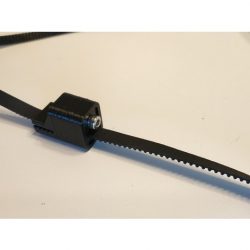
Source: Thingiverse.com – GT2 Inline Belt connector clamp by AndyFromSpace
Next one is basically the same as “MakerSlide Belt Clip”, but with a tensioning feature. It’s also screwed into the slot, but I think it’s still worth to highlight here.
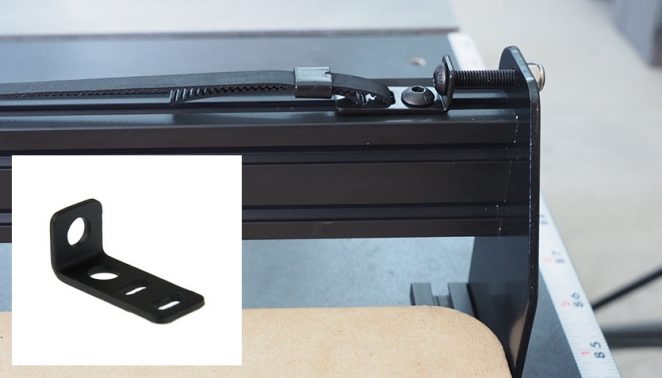
Source: inventables.com – Belt Clip tensioning feature for X-Carve
Connecting ends together
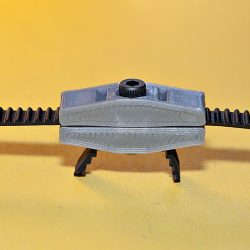
Source: Pinshape.com – Tough Belt Clip by mgx
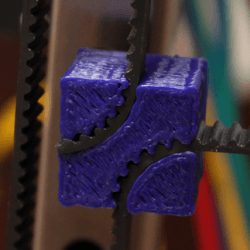
Source: thingiverse.com – GT2 belt clip by Joey Doll
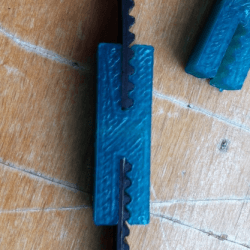
Source: thingiverse.com – GT2 belt clamp by Bastien Bruy
Or why not – zip ties!

Source: robo3d.com community – Belt connecting with zip ties
Finishing words
There is probably a lot more styles out there. This post is only for giving a small overview of some of them in one place. Hopefully, I have included enough different styles here to get imagination working when looking for a solution for clamp build. Leave a comment below if some other cool idea should be featured here.
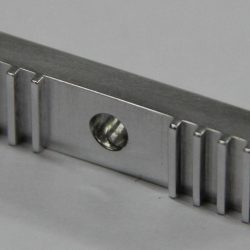


Simple universal clamp -how to use it? Pls explain with pics.
It’s very simple. The hole in the middle is for screwing it down to some surface having both ends of timing belt wedged beneath clamp. Visually it looks like here (scroll down) https://www.robotics.org.za/GT2-CLAMP
Great list. I really liked it. Hopefully it will help spur some motion on my own project!